

|
|
| Previous - Cubes and Wedges. | Return to Index. | Next - Backing Up Your System. |
This document will explain the steps required in importing and editing textures. It does not explain how to use either a scanner or a paint package - please consult the associated documentation for your particular setup.
Textures are used wherever a pattern or image is required in a design - a worktop pattern, a wall or floor tile, the view out the window to give a few examples.
Textures can come from a variety of sources - downloaded off of the internet, scanned in, from a digital camera, created in a paint program etc. Please consult the relevant documentation on acquiring an image.
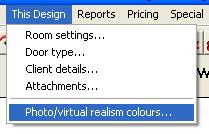
Click "This Design - Photo-realism Colours".
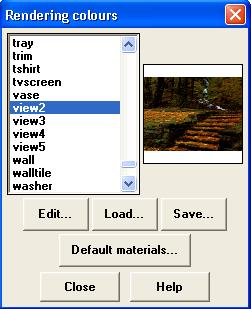
Select the colour you wish to use your new texture with - in this example we'll use "view2". Click "Edit".
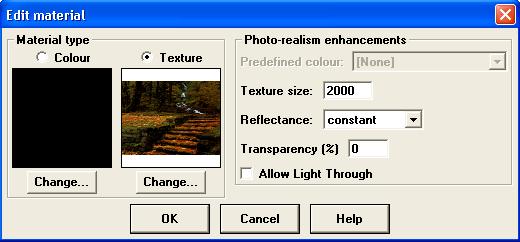
Click on the "Change" button under "Texture".
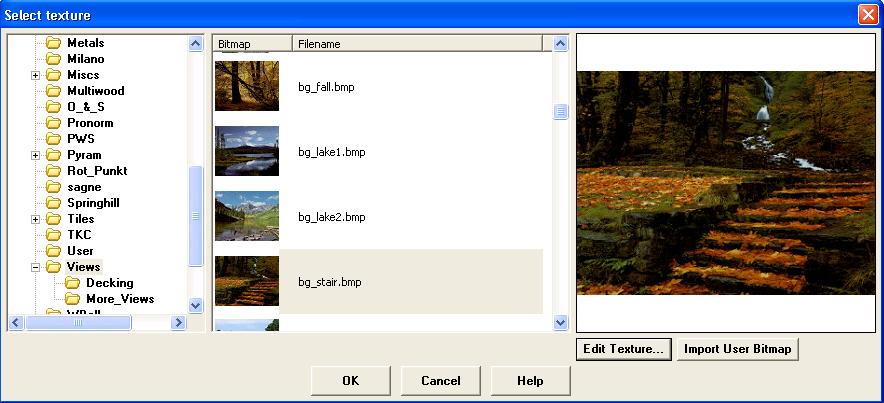
Click "Import User Bitmap".
NOTE: If the "Import User Bitmap" button is missing or greyed out, you need to install the .NET Framework from the ArtiCAD Installation CD.
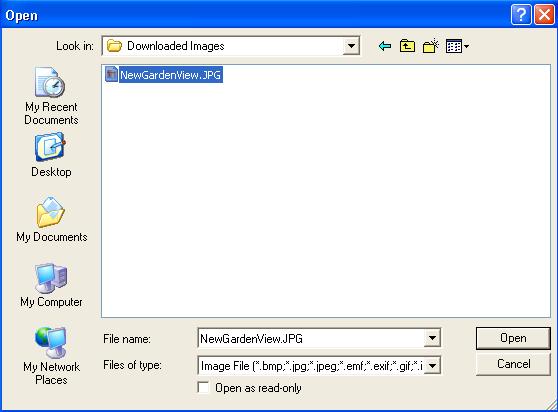
Find the image you wish to use. In this example the file we wish to import is called "NewGardenView.JPG". Select it and click "Open".
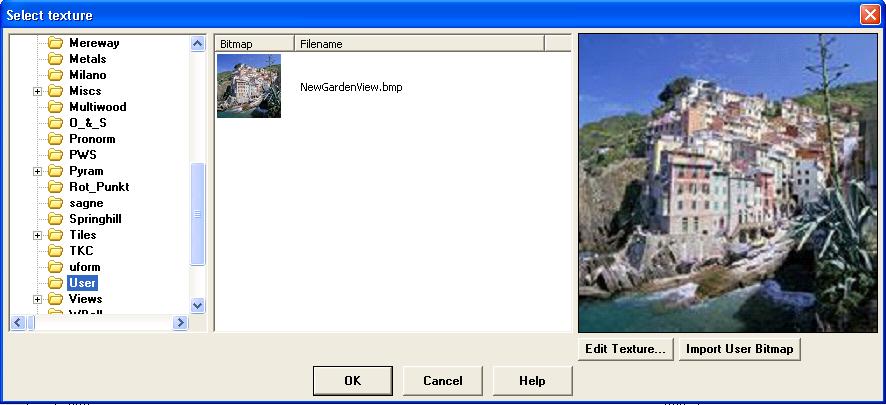
Your imported texture can now be found in a folder called "User". You only need to import the texture once, and it can be used on any item, not just the item that was selected initially (in this case "view2").
Return to top.
It is possible to make changes to a texture from within ArtiCAD. The built-in texture editor allows you to adjust the brightness, contrast and orientation of the texture. It does not allow you to crop the texture - you will need to use a seperate image editor.
Click "This Design - Photo-realism Colours".
Select the colour you wish to use your new texture with - in this example we'll use "view2". Click "Edit".
Click on the "Change" button under "Texture".
Click "Edit Texture..." button.
NOTE: If the "Edit Texture..." button is missing or greyed out, you need to install the .NET Framework from the ArtiCAD Installation CD.
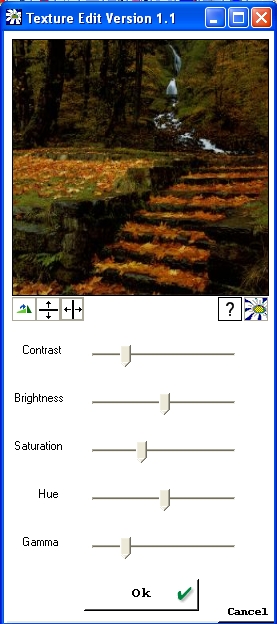
The three buttons to the bottom-left of the image are:
The two buttons to the bottom-right of the image are:
The 5 sliders allow you to adjust the following:
Once you have adjusted the texture, click "Ok" to save your changes. Your new texture will appear in the "User" folder.
If you wish to discard your changes you can click "Cancel".
NOTE: if you click outside the Texture Editor window it will continue running in the background. The main ArtiCAD window will appear frozen. Click on the "Texture Editor" button on the task bar at the bottom of your screen and exit the Texture Editor correctly.
Return to top.